
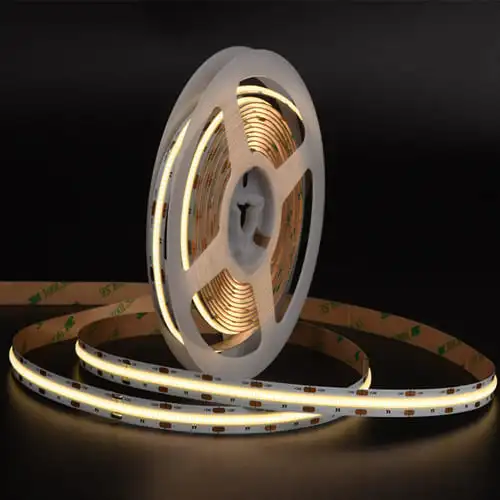
We fields questions from contractors and wholesalers who struggle to pin down the right tunable white COB LED strip lights for their projects, wrong specs lead to callbacks, wasted material, and frustrated clients.
The key specifications for 2700K-6500K tunable white COB LED strip lights include 24V DC input, 10–20W/m power range, CRI 90+, 576–640 LEDs/m COB density for seamless illumination, 10mm or 12mm PCB width, IP20 to IP67 ratings, and compatibility with PWM dimmable LED strip controllers for smooth color temperature CCT adjustment.
Let me walk you through each specification that actually matters when you are sourcing these strips for real-world installations, and explain the trade-offs most spec sheets never mention.
How do I ensure consistent color temperature across different batches for my large-scale projects?
A few months ago, a distributor partner in Australia sent photos of a hotel corridor where two adjacent cove sections looked noticeably different — one strip ran warmer, the other cooler, both supposedly set to 4000K SDCM MacAdam ellipse 1. That single inconsistency cost him a week of rework and almost lost the account.
To ensure consistent color temperature CCT across batches, demand binning reports with tight SDCM ≤3 MacAdam ellipse tolerance, request production samples from each batch before shipment, and work with a supplier who locks LED chip reels from the same BIN code throughout your entire project order.
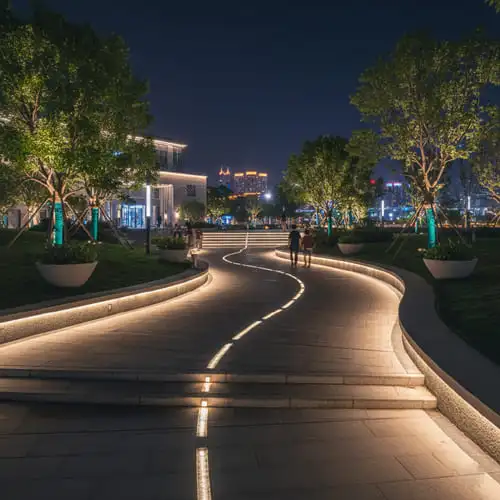
Why Batch-to-Batch Variance Happens
Tunable white COB strips use two separate LED chip arrays — warm white light chips (around 2700K) and cool white light chips (around 6500K). When you blend them to hit a mid-range target like 4000K, even a small shift in either chip group's native color temperature gets amplified. If the warm white chips in Batch A sit at 2650K and Batch B's chips sit at 2780K, the blended output at any mixed setting will look different side by side.
The root cause is LED phosphor variation 2 during manufacturing. No chip fab produces perfectly identical phosphors every run. That is why binning exists. Binning sorts chips into groups with similar chromaticity coordinates 3. The tighter the bin, the more consistent the output.
What to Ask Your Supplier
Here is a practical checklist our team uses when we lock specifications for a multi-phase project:
| Specification | What to Request | Why It Matters |
|---|---|---|
| SDCM (MacAdam Ellipse) | ≤ 3 steps | Human eye cannot detect color difference within 3 steps |
| BIN Code Lock | Same BIN across all rolls | Prevents mixing chips from different color bins |
| Pre-shipment Samples | 30 cm cut sample per batch | Visual side-by-side check before full shipment |
| Spectral Report | SPD data at 2700K, 4000K, 6500K | Confirms the actual CCT at key set points |
| Kelvin Tolerance | ± 100K at endpoints | Industry-standard acceptable range for tunable strips |
Practical Steps That Work
When we prepare orders for large-scale installations, we reserve LED chip reels from a single production lot at the chip supplier level. This means the warm white and cool white chips across every roll share the same phosphor batch. It adds a bit of lead time — usually one to two weeks — but it eliminates visible variance on site.
I also recommend installing strips from different rolls side by side under a test profile before final installation. Set the LED controller to 4000K (the mid-point where variance is most visible) and compare. If the strips match at 4000K, they will match everywhere else in the range.
For projects that span multiple shipments over months, we keep a reference sample archived in our warehouse. Every new production run gets compared to that reference under controlled lighting conditions. This simple step has saved several of our partners from the exact corridor mismatch problem I described above.
What voltage and wattage specifications should I look for to prevent voltage drop in my long-run installations?
One trade-off I weigh constantly is power versus distance. A contractor recently asked me to quote a 20-meter continuous cove run using 20W/m tunable white COB strip. On paper, that is 400 watts on a single feed — and a recipe for disaster without proper planning.
For long-run tunable white COB LED strip installations, choose a 24V LED strip system at 10–15W/m, feed power from both ends or at midpoint intervals of no more than 5 meters, and use 18 AWG or thicker wire to keep voltage drop below 5% across the entire run.
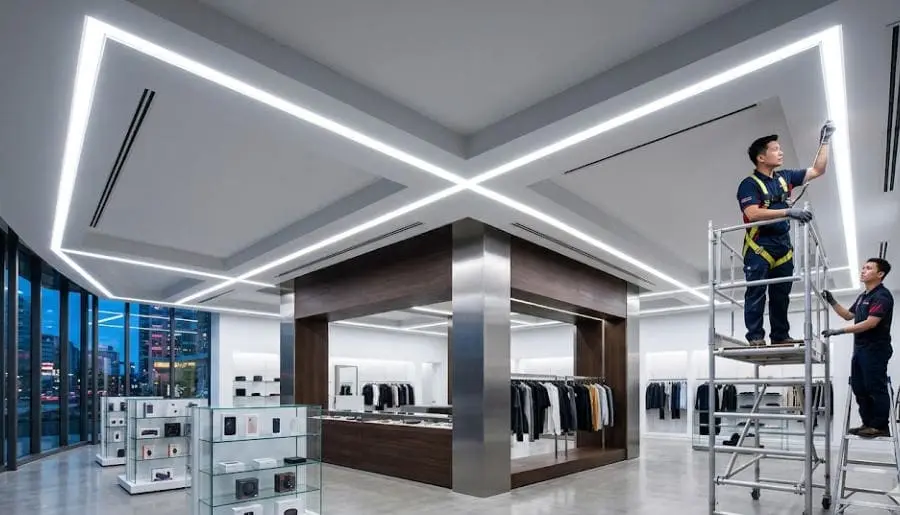
Understanding Voltage Drop in Tunable White Strips
Voltage drop 4 is the gradual loss of voltage along the length of the strip due to the resistance of the copper traces on the PCB. The longer the run and the higher the wattage, the worse it gets. In tunable white strips, voltage drop creates an additional problem beyond dimming: it can shift the color temperature CCT 5 at the far end of the run because the warm white and cool white channels may not lose voltage equally.
A 24V system is standard for professional installations because it carries twice the voltage of a 12V system at the same current, which cuts resistive losses in half. This is why nearly every serious project we supply uses 24V.
Power Tier Comparison
From our experience, here is how the common wattage tiers perform in real installations:
| Power (W/m) | Best Use Case | Max Single-Feed Run (24V) | Heat Concern |
|---|---|---|---|
| 10 W/m | Accent lighting, under cabinet lighting | 7–8 m | Low |
| 12 W/m | General cove and indirect lighting | 6–7 m | Low to moderate |
| 15 W/m | Commercial corridors, retail displays | 5–6 m | Moderate |
| 20 W/m | High-output task and architectural lighting | 4–5 m | High — requires aluminum profile |
Honestly, the 15W/m tier hits the sweet spot for most commercial and residential projects. I sometimes have to talk buyers out of specifying 20W/m. Tunable white strips already generate more heat than single-color strips because two chip arrays share the same PCB. Higher wattage compounds the thermal load. If you push too hard without adequate heat sinking — typically an aluminum extrusion profile — you shorten the LED lifetime and risk color shift over time.
Wire Gauge Matters
The copper traces on the flexible LED tape are thin. For runs beyond 5 meters from a single power injection point, the strip's own traces cannot carry current without noticeable drop. You need to supplement with heavier external wiring.
| Wire Gauge (AWG) | Max Recommended Distance at 15W/m (24V) | Voltage Drop at 5m |
|---|---|---|
| 22 AWG | 3 m | ~4.8% |
| 20 AWG | 5 m | ~3.0% |
| 18 AWG | 8 m | ~1.9% |
| 16 AWG | 12 m | ~1.2% |
For any run over 5 meters, I recommend parallel power injection — feed the strip from both ends, or tap in at the midpoint. This halves the effective run length each feed point has to support and keeps brightness and color temperature uniform from end to end.
A Quick Rule of Thumb
Keep voltage drop under 5%. If you calculate that a single-end feed will exceed that, add an injection point. It is cheaper to run an extra wire than to tear down a ceiling to fix uneven lighting after the project is installed.
How can I verify that the CRI and COB density will provide the seamless dot-free effect my clients expect?
A lesson I learned early on: spec sheets can promise CRI 90+ and "dot-free" output all day long, but the only proof that matters is what you see on a wall at 300mm viewing distance inside the actual aluminum profile your client has specified.
To verify high CRI and dot-free performance, request a physical sample installed in the intended extrusion or channel, measure CRI with a handheld spectrophotometer at multiple CCT points, and confirm the COB density is at least 576 LEDs/m — higher density produces smoother, more seamless illumination.
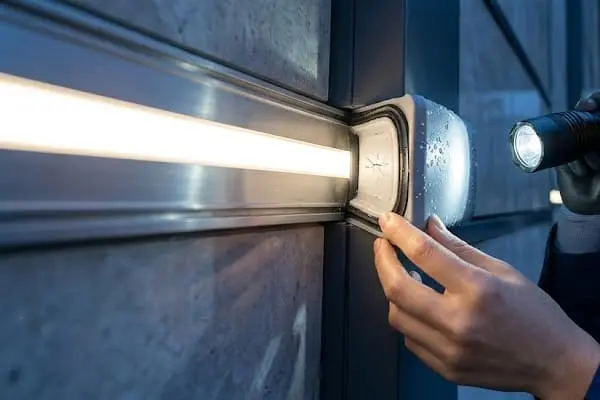
What CRI Actually Tells You
CRI — Color Rendering Index 6 — measures how accurately a light source renders colors compared to a reference illuminant 7. A CRI of 90 or above (often written as Ra ≥ 90) is the minimum threshold for spaces where color accuracy matters: retail, hospitality, residential kitchens, art galleries, and anywhere people evaluate materials, food, or skin tones.
But CRI is measured at a single color temperature. Tunable white strips shift across a wide range — 2700K to 6500K. A strip might test at CRI 95 at 3000K but drop to CRI 88 at 6500K if the cool white chips are lower quality. When we test our strips, we measure CRI at three points: 2700K, 4000K, and 6500K. All three must meet the CRI 90+ threshold. I recommend asking any supplier for spectral data at these same three points. For a deeper look at how color rendering differs between CRI 90 and CRI 95 COB LED strip lights, understanding the nuances can help you set the right threshold for your project.
COB Density and the Dot-Free Promise
COB technology 8 places LED chips directly onto the PCB substrate with a shared phosphor layer on top. This creates a continuous line of light rather than individual point sources. But "COB" alone is not enough. The chip density determines how smooth the output really looks.
At 480 LEDs/m, you might still see faint bright spots under a very shallow diffuser. At 576 LEDs/m, the output is smooth enough for most applications. At 640 LEDs/m, even a clear lens profile will look nearly uniform. To understand how LED chip density impacts COB LED strip light specifications, it helps to compare these tiers against your specific profile and diffuser combination. For under cabinet lighting or cove applications where the strip may be partially visible, I always recommend the higher density option.
How to Test Before You Commit
Here is the process we walk our project partners through:
- Request a 50 cm sample with the exact SKU you plan to order.
- Install it in the actual profile you will use on site — the diffuser type (frosted, milky, or opal) changes how the light appears dramatically.
- Power it at 2700K, 4000K, and 6500K and view from a typical occupant distance (usually 0.5–2 meters).
- Use a handheld spectrometer (even a basic one like a Sekonic or UPRtek) to confirm CRI at each setting.
- Check for flicker — set your phone camera to slow motion and look for banding. This reveals PWM dimming issues the eye might miss.
This five-step process takes about 30 minutes and saves weeks of rework. I have seen designers skip it, install 200 meters, and then discover the diffuser they chose is too transparent for the strip density they selected. That is a painful and expensive lesson.
The Beam Angle Factor
COB strips produce a 180° beam angle — significantly wider than the 120° typical of SMD strips. Beam Angle Factor 9 This wide spread is an advantage for cove and indirect lighting because it fills the channel more evenly. However, it also means more light hits the sides of narrow profiles. Choose a profile width that matches or exceeds the PCB width (10mm or 12mm) to avoid wasted side-spill and hot edges.
Can I request custom PCB widths and private labeling to match my brand's specific project requirements?
Last quarter, a lighting distributor approached us needing a 6mm-wide tunable white COB strip for a slim European-style recessed profile. The standard 10mm PCB was too wide. That single customization request turned into a long-term supply agreement because no other supplier would touch a non-standard width at his order volume.
Yes, reputable OEM/ODM suppliers offer custom PCB widths (from 4mm to 20mm), private labeling on the strip and packaging, custom cut lengths, and branded documentation — typically requiring a minimum order of 500–1000 meters depending on the level of customization requested.

Standard vs. Custom PCB Widths
Most tunable white COB strips ship in three standard PCB widths. But real-world projects often demand something different. A narrow profile for furniture integration might need 5mm or 6mm. A high-power architectural application might need 14mm or 16mm to accommodate wider copper traces and better thermal dissipation.
Here is what we commonly see in orders:
| PCB Width | Typical Application | Customization MOQ |
|---|---|---|
| 5–6 mm | Ultra-slim furniture profiles, display cases | 1000 m |
| 8 mm | Compact cove lighting, residential trim | 500 m (standard) |
| 10 mm | General commercial and residential — most popular | 500 m (standard) |
| 12 mm | Higher-power commercial, outdoor IP67 rated strips | 500 m (standard) |
| 14–20 mm | Architectural feature lighting, high-output applications | 1000 m |
The 10mm width remains the workhorse. It fits the majority of aluminum profiles on the market, offers enough copper area for 15W/m without excessive heat, and balances flexibility with durability. But when a project demands something else, the ability to go custom is a genuine competitive advantage for distributors who want to differentiate their product line.
Private Labeling: More Than Just a Logo
Private labeling for a flexible LED tape product goes beyond slapping a logo on a box. Here is what a thorough private-label program can include:
- Strip printing: Your brand name and SKU printed directly on the PCB at regular intervals.
- Packaging: Custom boxes or reels with your brand identity, barcodes, and QR codes linking to your own installation guides.
- Documentation: Spec sheets, wiring diagrams, and warranty cards carrying your logo and contact information.
- UPC/EAN codes: Applied to packaging for retail or warehouse scanning.
- Certifications displayed under your brand: With proper authorization, certification marks (like SAA for Australia or CE for Germany) appear alongside your branding.
For our partners in Germany and Australia, having SAA or CE marks on their own branded packaging speeds up project approvals and builds trust with end clients. We handle the certification documentation and testing, then license the marks for use on their private-label products.
The Real Cost of Customization
Many buyers worry that custom means expensive. In reality, the tooling cost for a custom PCB width is modest — usually a one-time fee that gets absorbed across the first order. The per-meter cost increase for a non-standard width is typically only 5–15% above the equivalent standard product. For private labeling, the cost is even lower: printed reels and custom packaging add minimal expense at volumes above 500 meters.
The bigger cost is time. A fully custom product — new PCB width, custom LED density, private-label packaging — takes four to six weeks from design confirmation to shipment. Standard products with only label customization ship in two to three weeks. Planning ahead is the key to avoiding delays.
IP Rating Customization
Beyond PCB width, you can also specify the IP rating 10 to match your project environment. IP20 strips work for dry indoor applications. IP65 adds a silicone coating for damp locations. IP67 uses a full silicone sleeve for wet environments like outdoor patios or bathroom niches. Each IP rating level affects the strip's flexibility, thermal behavior, and maximum run length, so it is worth discussing the target environment with your supplier early in the process. For a detailed comparison, see the structural differences between indoor and outdoor waterproof COB LED strip lights.
Conclusion
Choosing the right tunable white COB LED strip comes down to matching real project needs — consistent binning, proper voltage planning, verified CRI, and smart customization — rather than chasing the highest numbers on a spec sheet.
Footnotes
- Defines MacAdam ellipse and SDCM for LED color consistency. ↩︎
- Discusses how phosphor variations affect LED color consistency during manufacturing. ↩︎
- Explains chromaticity coordinates in the context of color science and LED binning. ↩︎
- Explains the phenomenon of voltage drop in LED strip installations. ↩︎
- Replaced with an authoritative Wikipedia link explaining Correlated Color Temperature (CCT). ↩︎
- Replaced with an authoritative Wikipedia link explaining Color Rendering Index (CRI). ↩︎
- Defines standard illuminants used as references in color measurement. ↩︎
- Explains the principles and benefits of Chip-on-Board (COB) LED technology. ↩︎
- Explains what beam angle means in the context of LED lighting and its measurement. ↩︎
- Explains the International Protection (IP) rating system for enclosures and LED lights. ↩︎

 English
 Spanish
 German
 Russian
 Arabic
 French
 Portuguese