
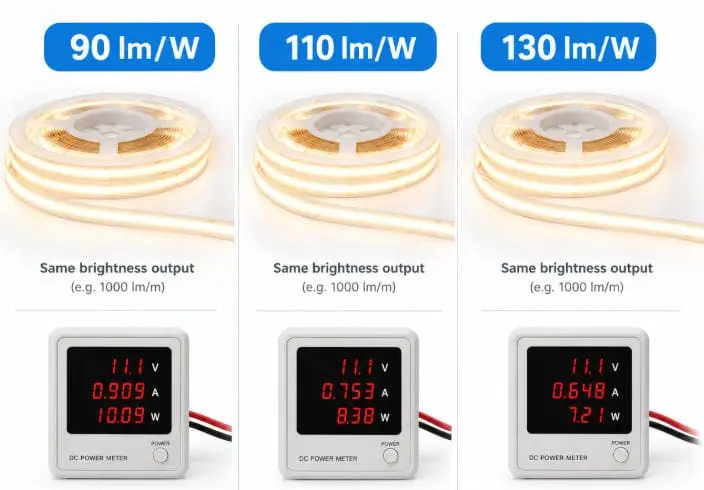
The working voltage and max length of a COB LED strip light confuse many buyers. I see it weekly when contractors send us project drawings with runs far too long for the chosen voltage. The result? Dim ends, color shift, and costly rework. After sourcing and co-developing long-run strips for projects in Germany and Australia, my team has a clear framework that prevents these failures before installation day.
Most COB LED strip lights work on 12V or 24V DC, with 24V being the industry standard. A 12V COB strip typically runs up to 5 meters (16.4 ft) from one power feed, while a 24V strip supports about 10 meters (32.8 ft) before voltage drop becomes visible.
Those numbers are only the starting point. Let me walk you through how voltage, wattage, and power feed strategy actually decide how long your COB strip can run.
What voltage options should I choose for my COB LED strip project?
A wholesaler in Melbourne once asked us to quote the "standard" COB strip. There is no single standard. Our catalog alone spans 12V, 24V, and 48V, and each fits a different job.
Choose 24V DC for most COB LED strip projects because it supports longer runs with less voltage drop. Pick 12V for short DIY runs needing fine cutting increments, and consider 48V for extra-long commercial installations. Always match the strip voltage to the power supply exactly.
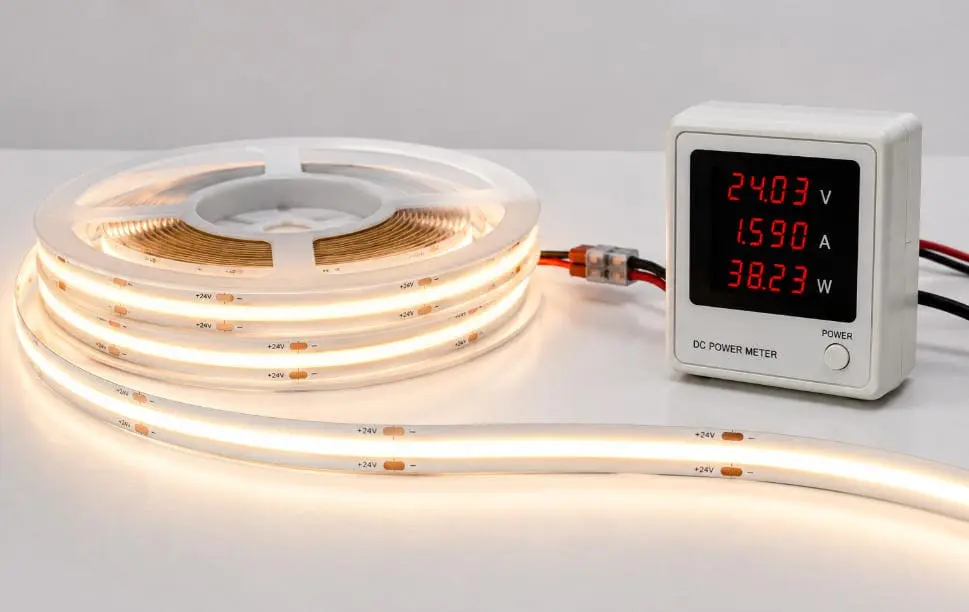
Right now, the mainstream COB strip market runs on three voltages: 12V, 24V, and 48V. In our order books, 24V is by far the most requested option, and for good reason. It balances run length, safety, and driver availability better than anything else. Some niche products exist too — 5V USB-powered strips 1 for small custom projects, and 3.7V battery-powered strips for portable use — but those are not what you want for installed architectural lighting. High-voltage 110V/220V AC strips are a different product category entirely, and I always warn buyers not to confuse them with standard low-voltage COB tape.
Comparing the common voltage options
| Voltage | Typical Max Run (single feed) | Best Use Case | Notes |
|---|---|---|---|
| 5V DC | 1–2 m | USB gadgets, small crafts | Niche, not for installations |
| 12V DC | 5 m (16.4 ft) | Short runs, tight cutting increments | Common in DIY and vehicles |
| 24V DC | 10 m (32.8 ft) | Most commercial and residential projects | Industry standard |
| 48V DC | 15 m+ | Long-run commercial installs | Fewer driver options, higher cost |
Why voltage matching matters
A COB strip is a constant-voltage product. A 12V strip needs a 12V DC power supply 2, and a 24V strip needs a 24V DC power supply. Feed a 12V strip with 24V and you will burn out the LEDs almost instantly. Feed a 24V strip with 12V and it will barely glow. On our QC line, we test every reel at its rated input before shipping, because a mismatched constant voltage driver is one of the most common — and most avoidable — field failures we see.
One more factor: cutting increments. A 12V COB strip usually cuts every 25–50 mm, while a 24V version cuts every 50–100 mm. If your design needs very short segments around tight corners, 12V may serve you better despite the shorter max run.
How does working voltage affect the maximum run length of COB LED strips?
When we co-developed a long-run strip series with a German distributor, the entire spec discussion revolved around one relationship: voltage versus current. Everything else followed from that.
Higher working voltage allows longer maximum runs because the strip draws less current for the same wattage. A 24V COB strip carries half the current of an equivalent 12V strip, cutting resistive losses across the copper traces and roughly doubling the practical run length to about 10 meters.
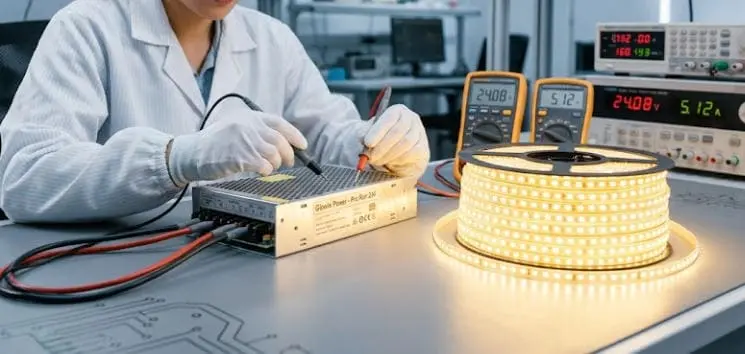
Here is the physics in plain terms. Power equals voltage times current. If a COB strip consumes 10 watts per meter, a 12V version pulls about 0.83 amps per meter, while a 24V version pulls only about 0.42 amps. Less current flowing through the same copper traces means less resistive heat and less voltage lost along the way. That is the whole story behind why 24V wins for longer runs, and why aspectLED publishes a 16.4 ft max run for its 12V strip versus 32 ft for the identical 24V version.
Run length depends on more than voltage
Voltage sets the ceiling, but three other factors decide where your real limit sits:
- Wattage per meter. A published 24V spec sheet we often reference lists 50W total across a 5 m / 16.4 ft reel, roughly 3.05 W/ft. Higher wattage per meter means higher current and a shorter safe run.
- PCB width and copper thickness. A wider PCB with heavier copper carries current with less loss. Our project-grade strips use thicker copper precisely to extend run length and improve heat dissipation.
- Feed method. Single-end feed, both-end feed, and mid-point injection each give different practical limits. Some "max length" claims refer to one-side power, others to both-end power, so figures from different vendors are not directly comparable.
Typical run limits at a glance
| Configuration | 12V COB Strip | 24V COB Strip |
|---|---|---|
| Single-end feed | ~5 m (16.4 ft) | ~10 m (32.8 ft) |
| Both-end feed | ~8–10 m | ~15–20 m |
| Multiple injection points | Effectively unlimited | Effectively unlimited |
Here is my honest advice, and it is what I tell every client who asks how long one reel can go: do not treat the published number as a limit to use up. Some products can theoretically run ten-plus or even tens of meters continuously. But a project site is nothing like a lab. Leave headroom and inject power early. A conservative power design almost never causes regret later.
Why do I get voltage drop and brightness loss over long COB strip runs?
The trade-off I weigh most often when speccing a project is copper cost versus voltage drop tolerance. Thicker traces cost more per reel, but they save far more in rework and complaints.
Voltage drop happens because the copper traces in a COB strip have electrical resistance. As current travels down the strip, voltage falls progressively, so LEDs at the far end receive less power and appear dimmer, warmer, or in extreme cases shifted toward blue.
Think of the strip as a long, thin extension cord with lights attached along its entire length. Every centimeter of copper adds resistance. Every LED adds load. The LEDs near the power supply get full voltage. The LEDs ten meters away get whatever is left after the losses. On a heavily loaded 12V strip, the far end can lose enough voltage that the drop becomes visible to the naked eye — usually as a gradual dimming toward the end of the run.
It is not just dimming — color can shift too
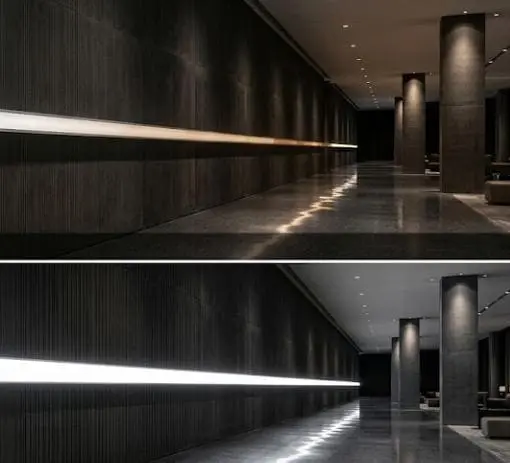
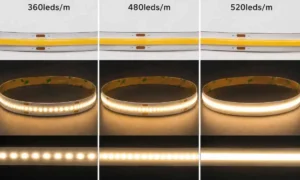
COB strips have very high LED density per meter 3, often 320 to 528 chips, all coated under one continuous phosphor layer. This density is what creates the beautiful dot-free line of light. But it also means high current draw per meter. In over-extended runs, the voltage at the far end can drop below the threshold needed to fully excite the yellow phosphor. The result is a subtle bluish tint at the strip's end — sometimes called blue-bleed. On a retail shelf or a coved ceiling, that color shift is more noticeable than the dimming itself.
Heat makes it worse
There is a thermal side to this as well. The powered end of a maximum-length run carries the full current of the entire strip. That concentrated current generates heat right where the strip is already working hardest. Poor heat dissipation accelerates lumen decay 4, and in high-density COB strips, repeated thermal cycling can stress the flexible PCB and the flip-chip bonds beneath the phosphor. This is exactly why we insist on aluminum channel mounting for every long-run project we supply, and why our QC process includes a burn-in test at full rated load. Long runs also complicate dimming: the dense capacitive load of a COB strip can distort high-frequency PWM dimming signals 5 over distance, producing subtle flicker or ghosting at the far end.
The fix for all of this is the same: reduce the current each section of copper must carry. That means choosing 24V or 48V, using parallel wiring from the driver, and adding power injection points before problems appear.
Can I connect multiple COB LED strips together without light discontinuity?
Light discontinuity at joints is one of the top complaints we hear from contractors and distributors. One Australian client came to us specifically because his previous supplier's joints showed visible dark spots in a hotel corridor.
Yes, you can connect multiple COB LED strips seamlessly if you use proper soldered joints or low-profile connectors, wire runs in parallel back to the power supply, and add power injection points every 5 meters on 12V systems or every 10 meters on 24V systems.
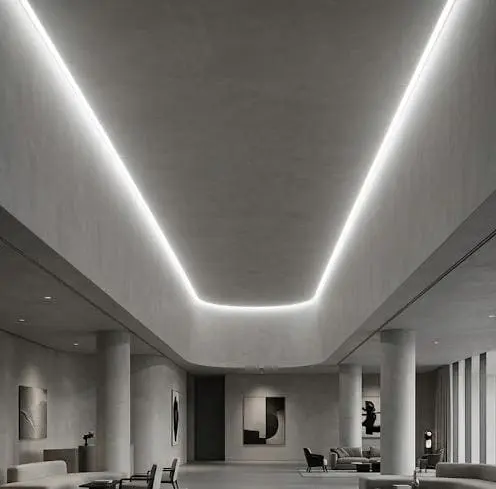
Connecting strips is easy. Connecting them so the light looks continuous is the real skill. Two separate problems cause visible discontinuity: physical gaps at the joint, and electrical imbalance between segments. You have to solve both.
Solving the physical joint
COB strips are more forgiving than SMD strips here, because the continuous phosphor layer diffuses light right up to the cut point. Still, joint quality matters. Soldered connections beat clip-on connectors for long-term reliability, especially in warm environments. We pre-solder leads and build custom lengths for many project orders precisely so installers avoid field joints in visible areas. When a connector must be used, choose a low-profile type that does not lift the strip out of its channel and create a shadow line.
Solving the electrical imbalance
Never daisy-chain three or four reels end to end from one feed. The last reel will be visibly dimmer than the first. Instead, follow this process:
- Calculate total wattage. Multiply wattage per meter by total length. A 10 W/m strip over 20 meters needs 200W of load capacity.
- Size the driver with headroom. Select a constant voltage driver rated 20–30% above the calculated load. A 200W load calls for a 250W supply.
- Wire in parallel. Run separate feed cables from the 24V DC power supply to each strip segment, rather than passing all current through the first strip.
- Add injection points. Feed power at both ends of each long run, or inject at mid-points so no single stretch exceeds the safe limit.
- Match batches. Order all strips from the same production batch. Even perfect wiring cannot hide batch-to-batch color variance, which is why we bin and batch-match every project shipment.
Power feed planning by system voltage
| System | Inject Power Every | Driver Headroom | Wiring Method |
|---|---|---|---|
| 12V COB | ~5 m | 20–30% | Parallel home runs |
| 24V COB | ~10 m | 20–30% | Parallel home runs |
| 48V COB | ~15 m | 20–30% | Parallel home runs |
Some sellers advertise "no voltage drop" or "10 m without voltage drop" COB strips. Treat those claims carefully. They reflect a specific electrical design — thicker copper, lower wattage per meter, or built-in compensation — not a property of the COB format itself. Emerging approaches like graphene-enhanced flexible PCBs promise meaningfully lower trace resistance and longer 24V runs without extra injection, but until such products are proven at scale, plan your power feeds the conservative way.
Conclusion
Getting voltage and run length wrong ruins otherwise perfect installations. Choose 24V for most projects, respect the 5 m/10 m limits, inject power early, and design with headroom.
Footnotes
- Government resource providing standards and efficiency guidelines for solid-state lighting. ↩︎
- Authoritative source for electrical engineering standards and power supply principles. ↩︎
- Comprehensive overview of LED technology and high-density chip configurations. ↩︎
- Authoritative Wikipedia entry explaining lumen depreciation (decay) and maintenance standards for LEDs. ↩︎
- Technical explanation of pulse-width modulation used in LED brightness control. ↩︎


 English
 Spanish
 German
 Russian
 Arabic
 French
 Portuguese