
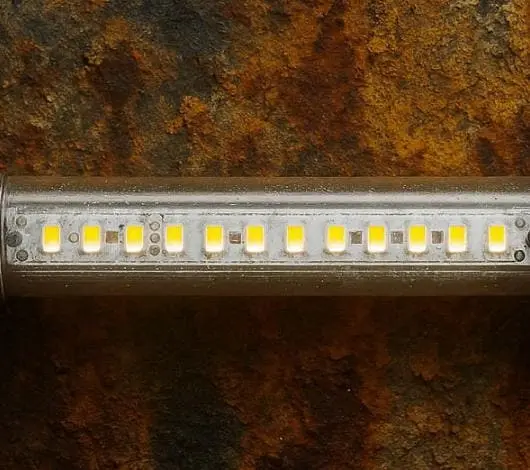
Contractors and wholesalers around the world usually ask: "How bright does my LED strip really need to be?" It sounds simple. But choosing the wrong wattage or lumen level leads to overspending, overheating, or—worst of all—a finished project that looks dim and cheap.
For most LED strip applications, 4–14W per meter and 300–1500 lumens per meter are sufficient. Accent and mood lighting sit at the lower end (300–700 lm/m), while task and commercial lighting demand the higher end (800–1500+ lm/m). The right choice depends on your specific use case, not the highest spec on the datasheet.
In this guide, I will break down exactly how to match wattage and lumen output to real-world projects LED power supply wattage calculation 1. We will cover commercial specifications, heat management, batch consistency, and outdoor standards—everything a procurement officer or lighting designer needs before placing an order.
How do I determine the ideal lumens per meter for my specific commercial project requirements?
One lesson we learned early on our production line is that "brighter" does not always mean "better." Choosing lumens per meter 2 without understanding the application is like buying a truck to drive to the corner store—wasteful and impractical.
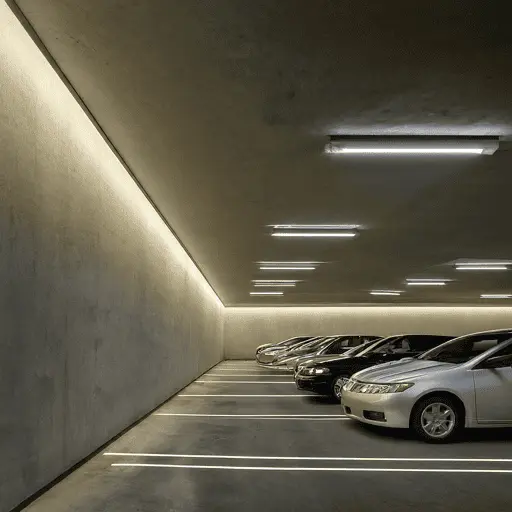
To determine the ideal lumens per meter, first define your application type: accent lighting needs 300–700 lm/m, under-cabinet or display lighting needs 700–1000 lm/m, and task or commercial lighting needs 1000–1500+ lm/m. Then factor in mounting height, diffuser losses, and room reflectance to fine-tune your spec.
Why Lumens Matter More Than Watts
Lumens measure the actual visible light an LED strip produces heat management 3. Watts only tell you how much electricity it consumes. Two strips can both draw 10W per meter, but one might produce 900 lm/m while another only reaches 600 lm/m spectrophotometer test reports 4. The difference comes down to LED chip quality and driver efficiency.
When we spec strips for our export partners in Germany and Australia, we always start the conversation with lumens IP rating explanation 5. Watts matter for power supply sizing, but lumens determine whether the end user will be satisfied with the light in their space.
Matching Lumens to Application
Here is a practical reference table we share with our project clients:
| Application Type | Recommended lm/m | Typical W/m | Common Use Cases |
|---|---|---|---|
| Accent / Mood Lighting | 300–700 | 4–7 | Cove lighting, hospitality, bars |
| Display / Under-Cabinet | 700–1000 | 7–10 | Retail shelves, kitchen counters |
| Task Lighting (close range) | 1000–1400 | 10–14 | Workbenches, office desks |
| Task Lighting (high mount) | 1500–3300 | 14–25+ | Warehouses, outdoor facades |
Don't Forget Diffuser and Mounting Losses
A common mistake we see from first-time specifiers is ignoring light loss. When you install LED strips inside an aluminum profile with a frosted diffuser, you lose roughly 15–30% of the raw lumen output. If you mount the strip high above the target surface—say, 2 meters or more—the usable light on the surface drops further.
So if your project needs 800 lm/m at the surface and you are using a frosted cover, spec a strip that produces at least 1000–1050 lm/m raw. Our team always runs these calculations during the co-development phase, so the final installation matches what the designer envisioned.
Room Reflectance and Color Temperature
Dark walls and ceilings absorb light. A strip rated at 1000 lm/m will feel bright in a white-walled retail store but dim in a dark-painted restaurant. Also, warmer color temperatures (2700K–3000K) appear slightly dimmer to the human eye than cooler temps (4000K–5000K) at the same lumen rating. Keep this in mind when picking specs for your next tender.
What wattage should I choose to balance high brightness with heat management in my long-run installations?
When we test long-run prototypes in our lab, heat is always the first thing we measure—before color, before brightness. I have seen projects where contractors chose a 20W/m strip for a 15-meter run and ended up with premature LED failure within months because they skipped thermal planning.
For long-run installations, choose 8–14W/m paired with 24V or 48V systems and aluminum heat-sink profiles. This range delivers strong brightness (800–1500 lm/m) while keeping junction temperatures safe. Higher wattage strips (15W/m+) require dedicated thermal management and shorter maximum run lengths to avoid voltage drop and overheating.
The Heat-Brightness Tradeoff
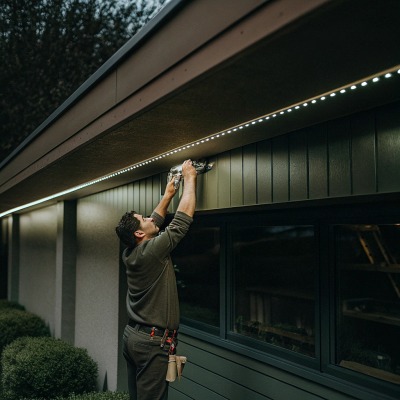
Every watt an LED strip consumes generates some heat. The more power you push through the LEDs, the hotter they get. Excessive heat degrades the LED phosphor, shifts color temperature, and shortens lifespan—sometimes from 30,000 hours down to under 10,000.
At our facility, we conduct thermal aging tests at 55°C ambient for 1,000 hours before approving a new SKU. This helps us guarantee the specs hold up in real-world conditions, not just in a cool lab.
Voltage, Run Length, and Voltage Drop
Voltage choice directly affects how far you can run a strip before brightness visibly drops at the far end. Here is a quick comparison:
| Voltage | Max Recommended Run (single feed) | Best For | Voltage Drop 6 Risk |
|---|---|---|---|
| 12V DC | 5 meters | DIY, vehicles, short accents | High beyond 5m |
| 24V DC | 10 meters | Most commercial installs | Moderate beyond 10m |
| 48V DC | 15–20 meters | Long architectural runs, warehouses | Low |
If your project needs a 12-meter continuous run, do not use 12V strips. You will get a noticeable brightness fade at the end. We always recommend 24V as the standard for commercial projects and 48V for anything beyond 15 meters or high-wattage applications.
Sizing Your Power Supply
A reliable rule: your power supply should be rated at least 20% above the total strip load. Here is a quick formula:
Total Watts = W/m × Total Length (m)
Power Supply Rating = Total Watts × 1.2
For example, if you run 10 meters of a 12W/m strip:
- Total load = 12 × 10 = 120W
- Minimum PSU = 120 × 1.2 = 144W → Choose a 150W supply.
This headroom prevents the driver from running at full capacity, reducing heat buildup in the driver itself and extending its life by years.
Aluminum Profiles Are Not Optional at High Wattage
For any strip above 10W/m, we strongly recommend mounting inside an aluminum extrusion 7. The aluminum acts as a heat sink, pulling heat away from the LED PCB. Without it, the flexible PCB traps heat, and you risk color shift and early failure. Our premium project kits always include matched profiles for this reason.
How can I ensure my custom LED strips maintain consistent brightness and color across every batch I order?
This is the number one pain point I hear from our long-term distributors in Australia. One batch looks warm and cozy. The next batch arrives slightly cooler or dimmer. And now the installer is on-site trying to blend two visibly different strips on the same ceiling. It is a nightmare for everyone involved.
To ensure batch-to-batch consistency, require your supplier to bin LEDs by tight MacAdam ellipse steps (3-step or tighter), lock in specific LED chip lots, use calibrated SMT lines, and provide spectrophotometer test reports with every shipment. A reliable supplier will also keep reference samples for future matching.
What Causes Batch Variation
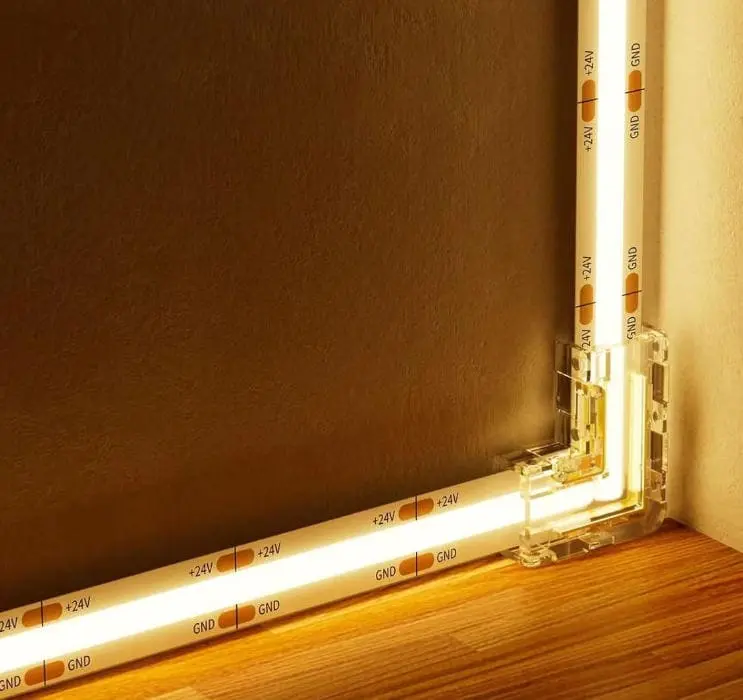
LED chips come off the wafer with natural variation in color temperature (CCT), brightness (lumens), and forward voltage. Chip manufacturers sort—or "bin"—these chips into groups. Wider bins mean more variation. Tighter bins cost more but deliver the uniformity that professional projects demand.
On our production lines, we specify 3-step MacAdam ellipse binning 8 as standard for all project-grade orders. This means the color difference between any two LEDs is virtually invisible to the human eye. Cheaper strips often use 5-step or even 7-step bins, and that is where you start seeing visible warm-cool patches.
Key Quality Control Checkpoints
Here are the critical QC steps we follow—and the ones you should verify with any supplier:
| QC Stage | What We Check | Why It Matters |
|---|---|---|
| Incoming LED Bins | MacAdam step, CCT range, lumen bin | Ensures raw material consistency |
| SMT Placement | Solder paste volume, chip alignment | Prevents dead LEDs and hot spots |
| Aging Test (burn-in) | 8–24 hour run at rated power | Catches infant mortality failures |
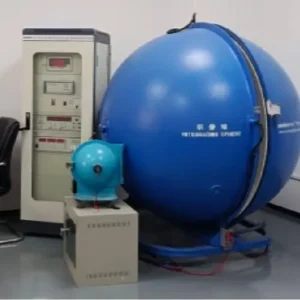
| Integrating Sphere Test | Lumen output, CCT, CRI per reel | Provides traceable test data |
| Final Visual Inspection | Even light line, no color banding | Catches issues machines can miss |
Demand a Test Report—Every Time
When we ship to our partners, every reel includes a test card showing actual measured CCT, lumens, CRI, and forward voltage. This is not optional for project work. If your current supplier cannot provide integrating sphere data per batch, that is a red flag.
We also keep reference reels from each production run in our sample library. If a client reorders six months later for a project expansion, we pull the reference reel and match it precisely. This level of traceability is what separates project-grade supply from commodity LED strip.
Specifying for Long-Term Projects
For multi-phase commercial projects, tell your supplier up front that you will need matching across multiple orders over 12–24 months. A good supplier will reserve chip lots or at minimum lock the bin codes so reorders match. We handle this routinely for our German and Australian accounts, and it is one of the most valued parts of our service.
Which lumen output is best for my outdoor architectural lighting to meet strict safety and design standards?
Outdoor projects keep our engineering team busy because the stakes are so much higher. You have weather, UV exposure, salt air, and—critically—strict local regulations for glare, light pollution, and electrical safety. When we developed our IP67 strip line, every design decision was driven by real field failures we had studied.
For outdoor architectural lighting, 700–1500 lm/m typically meets both design intent and safety standards. Facade washing and pathway lighting generally need 1000–1500 lm/m, while outline or accent work needs 500–800 lm/m. Always verify the strip carries IP65 or higher, appropriate regional certifications (CE, SAA, ETL), and confirm glare ratings comply with local codes.
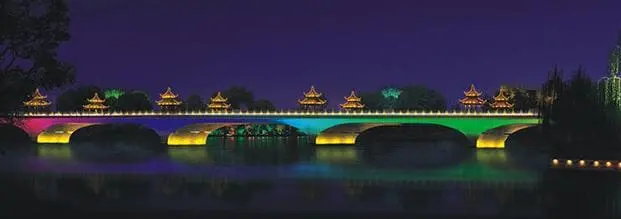
Outdoor Brightness Requirements Are Different
Outdoors, you compete with ambient sunlight at dusk, streetlights, and reflections. A strip that looks bright indoors can disappear outdoors. At the same time, going too bright creates glare hazards for pedestrians and drivers, and may violate local light pollution ordinances.
The sweet spot for most facade and landscape projects is 1000–1500 lm/m. For softer accent outlines on building edges or garden borders, 500–800 lm/m works well. Our Australian partners frequently need to comply with AS/NZS standards for both electrical safety and obtrusive light limits, so we design around those requirements from the start.
IP Rating and Lumen Maintenance
Outdoor strips must be sealed against moisture and dust. But the encapsulation material itself can reduce lumen output. Silicone sleeves or potting compounds absorb or scatter some light. A strip rated at 1200 lm/m bare might deliver only 1000 lm/m inside an IP67 silicone tube.
When we quote outdoor projects, we always provide the lumen figure after encapsulation, not before. Ask your supplier whether their lm/m spec is for the bare strip or the finished IP-rated product. This single question can save you from underperforming installations.
Certifications You Cannot Skip
Different markets have different requirements, and missing a certification can disqualify your bid or halt a project mid-install.
| Market | Key Certifications | What They Cover |
|---|---|---|
| Australia | SAA (RCM), IEC 62031 | Electrical safety, EMC |
| EU / Germany | CE, ENEC, EN 60598 | Safety, performance, EMC |
| North America | ETL / UL 2108, FCC | Electrical safety, EMC |
| General Outdoor | IP65 / IP67 / IP68 | Ingress protection level |
We maintain CE and SAA certifications on our core outdoor product lines specifically because our key markets require them. CE certifications 9 If your supplier cannot provide the right certificates with matching product codes, find one who can.
CRI and Color Quality for Architectural Impact
For high-end architectural facades, museums, or heritage buildings, CRI 90+ is essential. Low-CRI strips wash out material textures—stone looks flat, wood looks gray. Our standard outdoor strips ship at CRI 90, with CRI 95+ available on request for premium architectural jobs. The few extra cents per meter on high-CRI chips pay for themselves in the visual impact of the finished project.
Glare Control and Optics
Outdoor installations often sit at eye level or below—think stairway nosings, handrails, or ground-recessed channels. Without proper diffusion or beam-angle control, the raw LED dots create uncomfortable glare. We recommend pairing outdoor strips with deep-profile aluminum channels and opal diffusers that spread the beam to 120° while cutting direct glare. Some local codes in Germany (e.g., DIN EN 12464-2 for outdoor workplaces) set specific glare limits. Check before you spec.
Conclusion
Choosing the right LED strip wattage and lumens per meter comes down to matching specs to your actual project needs—not chasing the highest numbers. Define your application, manage heat, demand consistency, and verify certifications. When in doubt, reach out to our team at Glowin. We are here to help you get it right the first time.
Footnotes
- Guide to calculating LED power supply wattage. ↩︎
- Defines lumens per meter as a measure of visible light output. ↩︎
- Discusses principles of thermal management for LEDs. ↩︎
- Details the use of spectrophotometers in LED quality control. ↩︎
- Official definition of Ingress Protection (IP) ratings. ↩︎
- Explains voltage drop in LED circuits and its effects. ↩︎
- Describes the role of aluminum extrusions as LED heat sinks. ↩︎
- Defines MacAdam ellipse and its relevance to LED color consistency. ↩︎
- Outlines the requirements and significance of CE certification for products. ↩︎

 English
 Spanish
 German
 Russian
 Arabic
 French
 Portuguese