
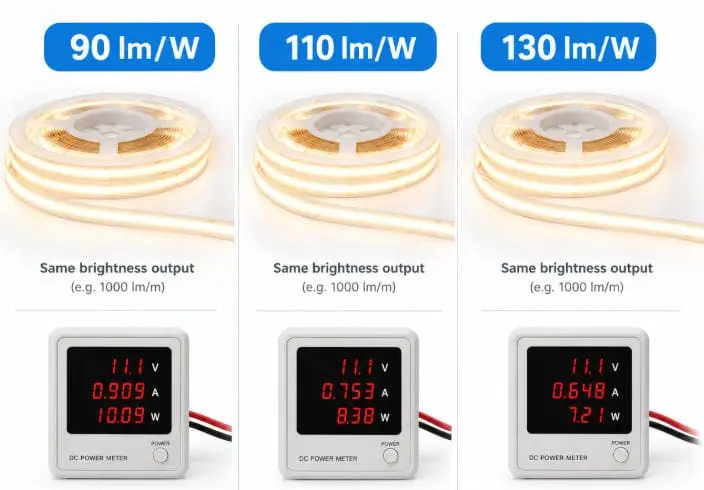
A voltagem de funcionamento e o comprimento máximo de uma fita de LED COB confundem muitos compradores. Vejo isso semanalmente quando empreiteiros nos enviam desenhos de projetos com trechos demasiado longos para a voltagem escolhida. O resultado? Pontas escuras, mudança de cor e retrabalho dispendioso. Após pesquisar e co-desenvolver fitas de longo alcance para projetos em Portugal, minha equipa tem um quadro claro que previne essas falhas antes do dia da instalação.
A maioria das fitas LED COB funciona com 12V ou 24V DC, sendo 24V o padrão da indústria. Uma fita COB de 12V normalmente percorre até 5 metros (16,4 pés) a partir de uma fonte de alimentação, enquanto uma fita de 24V suporta cerca de 10 metros (32,8 pés) antes de se tornar visível a queda de tensão.
Esses números são apenas o ponto de partida. Deixe-me explicar como a voltagem, a potência e a estratégia de alimentação realmente decidem até onde a sua fita de COB pode chegar.
Que opções de tensão devo escolher para o meu projeto de fita LED COB?
Um grossista em Lisboa pediu-nos uma cotação para a "fita padrão" de COB. Não existe um padrão único. O nosso catálogo abrange apenas 12V, 24V e 48V, e cada uma serve para um trabalho diferente.
Escolha 24V DC para a maioria dos projetos de fita LED COB, pois suporta percursos mais longos com menos queda de voltagem. Opte por 12V para percursos curtos de bricolagem que necessitam de incrementos de corte precisos, e considere 48V para instalações comerciais de longa distância. Sempre combine a voltagem da fita com a fonte de alimentação exatamente.
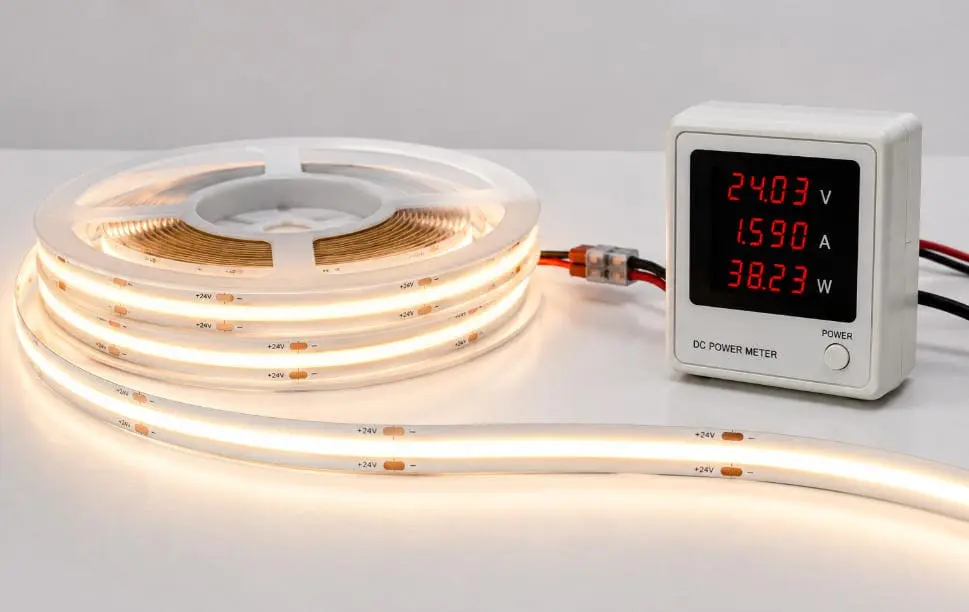
Atualmente, o mercado principal de fitas de COB funciona com três voltagens: 12V, 24V e 48V. Nos nossos pedidos, 24V é de longe a opção mais solicitada, e por uma boa razão. Ela equilibra melhor o comprimento de execução, a segurança e a disponibilidade de drivers. Existem também produtos de nicho — fitas alimentadas por USB de 5V 1 para pequenos projetos personalizados, e fitas alimentadas por bateria de 3,7V para uso portátil — mas essas não são o que procura para iluminação arquitetônica instalada. Fitas de alta voltagem de 110V/220V AC são uma categoria de produto completamente diferente, e sempre aviso os compradores para não as confundirem com fitas de COB de baixa voltagem padrão.
Comparando as opções de voltagem comuns
| Tensão | Máximo típico de execução (alimentação única) | Melhor Caso de Uso | Notas |
|---|---|---|---|
| 5V DC | 1–2 m | Gadgets USB, artesanato pequeno | Nicho, não para instalações |
| 12V DC | 5 m (16,4 pés) | Execuções curtas, incrementos de corte precisos | Comum em projetos DIY e veículos |
| 24V DC | 10 m (32,8 pés) | A maioria dos projetos comerciais e residenciais | Padrão da indústria |
| 48V DC | Mais de 15 m | Instalações comerciais de longo alcance | Menos opções de drivers, custo mais elevado |
Por que a correspondência de voltagem importa
Uma fita COB é um produto de voltagem constante. Uma fita de 12V necessita de um Fonte de alimentação de 12V DC 2, e uma fita de 24V necessita de uma fonte de alimentação de 24V DC. Alimentar uma fita de 12V com 24V fará que os LEDs queimem quase instantaneamente. Alimentar uma fita de 24V com 12V fará com que quase não brilhe. Na nossa linha de controlo de qualidade, testamos cada bobina na sua entrada nominal antes de enviar, porque um driver de voltagem constante incompatível é uma das falhas mais comuns — e mais evitáveis — que vemos em campo.
Mais um fator: os incrementos de corte. Uma fita COB de 12V normalmente corta a cada 25–50 mm, enquanto a versão de 24V corta a cada 50–100 mm. Se o seu projeto precisar de segmentos muito curtos em torno de cantos apertados, 12V pode ser uma melhor opção apesar do comprimento máximo mais curto.
Como a voltagem de funcionamento afeta o comprimento máximo de execução das fitas de LED COB?
Quando co-desenvolvemos uma série de fitas de longa duração com um distribuidor alemão, toda a discussão de especificações girava em torno de uma relação: voltagem versus corrente. Todo o resto decorria disso.
Uma tensão de funcionamento mais elevada permite percursos máximos mais longos porque a tira consome menos corrente para a mesma potência. Uma tira COB de 24V transporta metade da corrente de uma tira equivalente de 12V, reduzindo as perdas resistivas ao longo das trilhas de cobre e aproximadamente duplicando o comprimento prático de percurso para cerca de 10 metros.
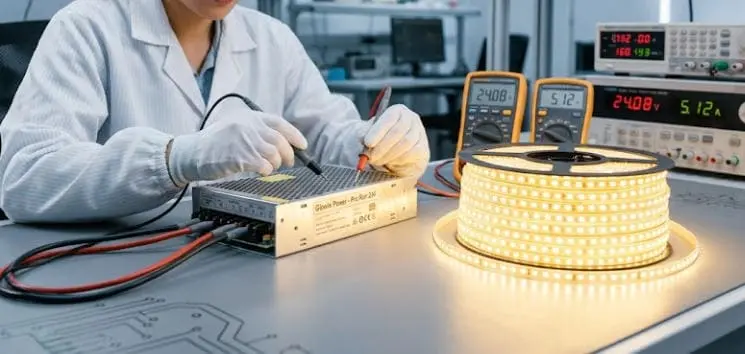
Aqui está a física em termos simples. Potência é igual à voltagem vezes a corrente. Se uma fita COB consome 10 watts por metro, uma versão de 12V puxa cerca de 0,83 amperes por metro, enquanto uma de 24V puxa apenas cerca de 0,42 amperes. Menos corrente a passar pelos mesmos trilhos de cobre significa menos calor resistivo e menos perda de voltagem ao longo do caminho. Essa é toda a explicação do porquê de 24V ser melhor para comprimentos maiores, e por que a aspectLED publica um comprimento máximo de 16,4 pés para a sua fita de 12V versus 32 pés para a versão idêntica de 24V.
O comprimento de execução depende de mais do que a voltagem
A voltagem define o limite máximo, mas outros três fatores decidem onde está o seu limite real:
- Potência por metro. Uma folha de especificações publicada de 24V que frequentemente consultamos lista 50W no total para um carretel de 5 m / 16,4 pés, aproximadamente 3,05 W/ft. Maior potência por metro significa maior corrente e um percurso seguro mais curto.
- Largura do PCB e espessura do cobre. Um PCB mais largo com cobre mais pesado transporta corrente com menos perdas. As nossas tiras de grau de projeto usam cobre mais espesso precisamente para prolongar o comprimento de percurso e melhorar a dissipação de calor.
- Método de alimentação. Alimentação de extremidade única, alimentação de ambas as extremidades e injeção no ponto médio oferecem limites práticos diferentes. Algumas afirmações de "comprimento máximo" referem-se à alimentação de um lado, outras à alimentação de ambas as extremidades, portanto, os números de diferentes fornecedores não são diretamente comparáveis.
Limites típicos de percurso de um olhar
| Configuração | Tira COB de 12V | Tira COB de 24V |
|---|---|---|
| Alimentação de uma ponta | ~5 m (16,4 pés) | ~10 m (32,8 pés) |
| Alimentação de ambas as extremidades | ~8–10 m | ~15–20 m |
| Múltiplos pontos de injeção | Praticamente ilimitado | Praticamente ilimitado |
Aqui está o meu conselho honesto, e é o que digo a todos os clientes que perguntam até onde pode chegar um rolo: não trate o número publicado como um limite a ser utilizado. Alguns produtos podem teoricamente percorrer mais de dez ou até dezenas de metros continuamente. Mas um local de projeto não é nada como um laboratório. Deixe margem de segurança e injete energia cedo. Um projeto de potência conservador quase nunca causa arrependimentos posteriormente.
Por que é que ocorre queda de tensão e perda de brilho em longas extensões de fitas COB?
O compromisso que pondero com mais frequência ao especificar um projeto é o custo do cobre versus a tolerância à queda de tensão. Trilhas mais grossas custam mais por rolo, mas poupam muito mais em retrabalho e reclamações.
A queda de tensão acontece porque as trilhas de cobre numa fita COB têm resistência elétrica. À medida que a corrente percorre a fita, a tensão diminui progressivamente, de modo que os LEDs na extremidade mais distante recebem menos energia e parecem mais ténues, mais quentes ou, em casos extremos, deslocados para o azul.
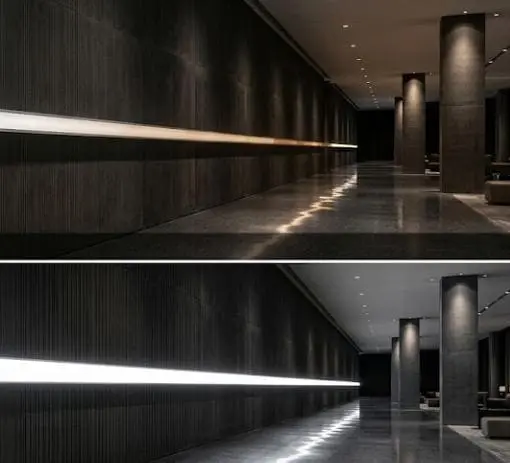
Pense na fita como um cabo de extensão longo e fino com luzes anexadas ao longo de todo o seu comprimento. Cada centímetro de cobre adiciona resistência. Cada LED adiciona carga. Os LEDs perto da fonte de alimentação recebem tensão total. Os LEDs a dez metros de distância recebem o que resta após as perdas. Numa fita de 12V com carga pesada, a extremidade distante pode perder tensão suficiente para que a queda se torne visível a olho nu — geralmente como um escurecimento gradual no final da linha.
Não é apenas escurecimento — a cor também pode mudar
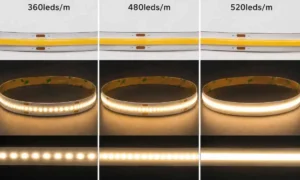
As fitas COB têm uma densidade de LEDs muito alta por metro 3, muitas vezes de 320 a 528 chips, todos revestidos sob uma única camada de fósforo contínua. Esta densidade é o que cria a bela linha de luz sem pontos. Mas também significa alto consumo de corrente por metro. Em linhas sobre-esticadas, a tensão na extremidade distante pode cair abaixo do limiar necessário para excitar totalmente o fósforo amarelo. O resultado é um subtil tom azulado na extremidade da fita — por vezes chamado de sangramento azul. Numa prateleira de retalho ou num teto embutido, essa mudança de cor é mais notável do que o próprio escurecimento.
O calor piora as coisas
Há também um lado térmico nisto. A extremidade alimentada de uma linha de comprimento máximo transporta a corrente total de toda a fita. Essa corrente concentrada gera calor exatamente onde a fita já está a trabalhar mais. A má dissipação de calor acelera a decadência do lúmen 4, e em fitas COB de alta densidade, o ciclo térmico repetido pode stressar o PCB flexível e as ligações flip-chip sob o fósforo. É exatamente por isso que insistimos na montagem em canal de alumínio para todos os projetos de longa duração que fornecemos, e por que o nosso processo de CQ inclui um teste de burn-in a plena carga nominal. Linhas longas também complicam a dimerização: a carga capacitiva densa de uma fita COB pode distorcer sinais de dimerização PWM 5 de alta frequência à distância, produzindo subtil cintilação ou ghosting na extremidade distante.
A solução para tudo isto é a mesma: reduzir a corrente que cada secção de cobre tem de transportar. Isso significa escolher 24V ou 48V, usar fiação paralela do driver e adicionar pontos de injeção de energia antes que os problemas apareçam.
Posso conectar várias fitas de LED COB juntas sem interrupção na iluminação?
A descontinuidade da luz nas juntas é uma das principais reclamações que ouvimos de empreiteiros e distribuidores. Um cliente Português veio ter connosco especificamente porque as juntas do seu fornecedor anterior apresentavam pontos escuros visíveis num corredor de hotel.
Sim, pode conectar várias tiras de LED COB de forma contínua se usar juntas de solda adequadas ou conectores de perfil baixo, percursos de fios em paralelo até à fonte de alimentação, e adicionar pontos de injeção de energia a cada 5 metros em sistemas de 12V ou a cada 10 metros em sistemas de 24V.
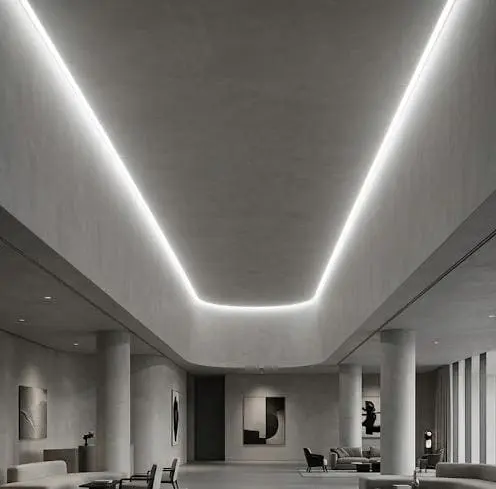
Conectar tiras é fácil. Conectá-las de modo que a luz pareça contínua é a verdadeira habilidade. Dois problemas separados causam uma discontinuidade visível: lacunas físicas na união e desequilíbrio elétrico entre segmentos. É preciso resolver ambos.
Resolver a união física
As tiras COB são mais tolerantes do que as tiras SMD aqui, porque a camada de fósforo contínua difunde a luz até ao ponto de corte. Ainda assim, a qualidade da união importa. Conexões soldadas superam conectores de encaixe para fiabilidade a longo prazo, especialmente em ambientes quentes. Pré-soldamos os cabos e fabricamos comprimentos personalizados para muitos pedidos de projeto precisamente para que os instaladores evitem uniões em campo em áreas visíveis. Quando for necessário usar um conector, escolha um tipo de perfil baixo que não eleve a tira fora do seu canal e crie uma linha de sombra.
Resolver o desequilíbrio elétrico
Nunca encadeie três ou quatro bobinas em série de uma só vez a partir de uma única fonte. A última bobina ficará visivelmente mais escura do que a primeira. Em vez disso, siga este processo:
- Calcule a potência total. Multiplique a potência por metro pelo comprimento total. Uma tira de 10 W/m com 20 metros necessita de uma capacidade de carga de 200W.
- Dimensione o driver com margem de segurança. Selecione um driver de tensão constante classificado entre 20–30V acima da carga calculada. Uma carga de 200W requer uma fonte de 250W.
- Conecte em paralelo. Utilize cabos de alimentação separados desde a fonte de energia de 24V DC até a cada segmento de tira, em vez de passar toda a corrente pela primeira tira.
- Adicione pontos de injeção. Alimente a energia em ambas as extremidades de cada percurso longo, ou injete no meio para que nenhum trecho único ultrapasse o limite seguro.
- Compatibilize os lotes. Encomende todas as tiras do mesmo lote de produção. Mesmo uma ligação perfeita não consegue esconder a variação de cor entre lotes, por isso agrupamos e combinamos por lotes todas as remessas de projeto.
Planeamento de alimentação de energia por voltagem do sistema
| Sistema | Injete Energia a Cada | Margem de Segurança do Driver | Método de Fiação |
|---|---|---|---|
| 12V COB | ~5 m | 20–30% | Percursos paralelos principais |
| 24V COB | ~10 m | 20–30% | Percursos paralelos principais |
| COB de 48V | ~15 m | 20–30% | Percursos paralelos principais |
Alguns vendedores anunciam "sem queda de voltagem" ou "10 m sem queda de voltagem" em tiras COB. Tome esses claims com cautela. Eles refletem um design elétrico específico — cobre mais espesso, menor wattagem por metro ou compensação integrada — não uma propriedade do formato COB em si. Abordagens emergentes como PCBs flexíveis aprimoradas com grafeno prometem resistência de trilha significativamente menor e trajetos de 24V mais longos sem injeção adicional, mas até que esses produtos sejam comprovados em escala, planeje suas alimentações de energia de forma conservadora.
Conclusão
Configurar incorretamente a voltagem e o comprimento do percurso arruina instalações que de outra forma seriam perfeitas. Opte por 24V na maioria dos projetos, respeite os limites de 5 m/10 m, injete energia cedo e projete com margem de segurança.
Notas de rodapé
- Recurso governamental que fornece normas e diretrizes de eficiência para iluminação de estado sólido. ↩︎
- Fonte autorizada para normas de engenharia elétrica e princípios de fontes de alimentação. ↩︎
- Visão geral abrangente da tecnologia LED e configurações de chips de alta densidade. ↩︎
- Entrada autorizada da Wikipedia explicando a depreciação (decadência) do lúmen e padrões de manutenção para LEDs. ↩︎
- Explicação técnica da modulação por largura de pulso utilizada no controlo de brilho dos LEDs. ↩︎


 English
 Spanish
 German
 Russian
 Arabic
 French
 Portuguese